112 Photography
Hyper Realism
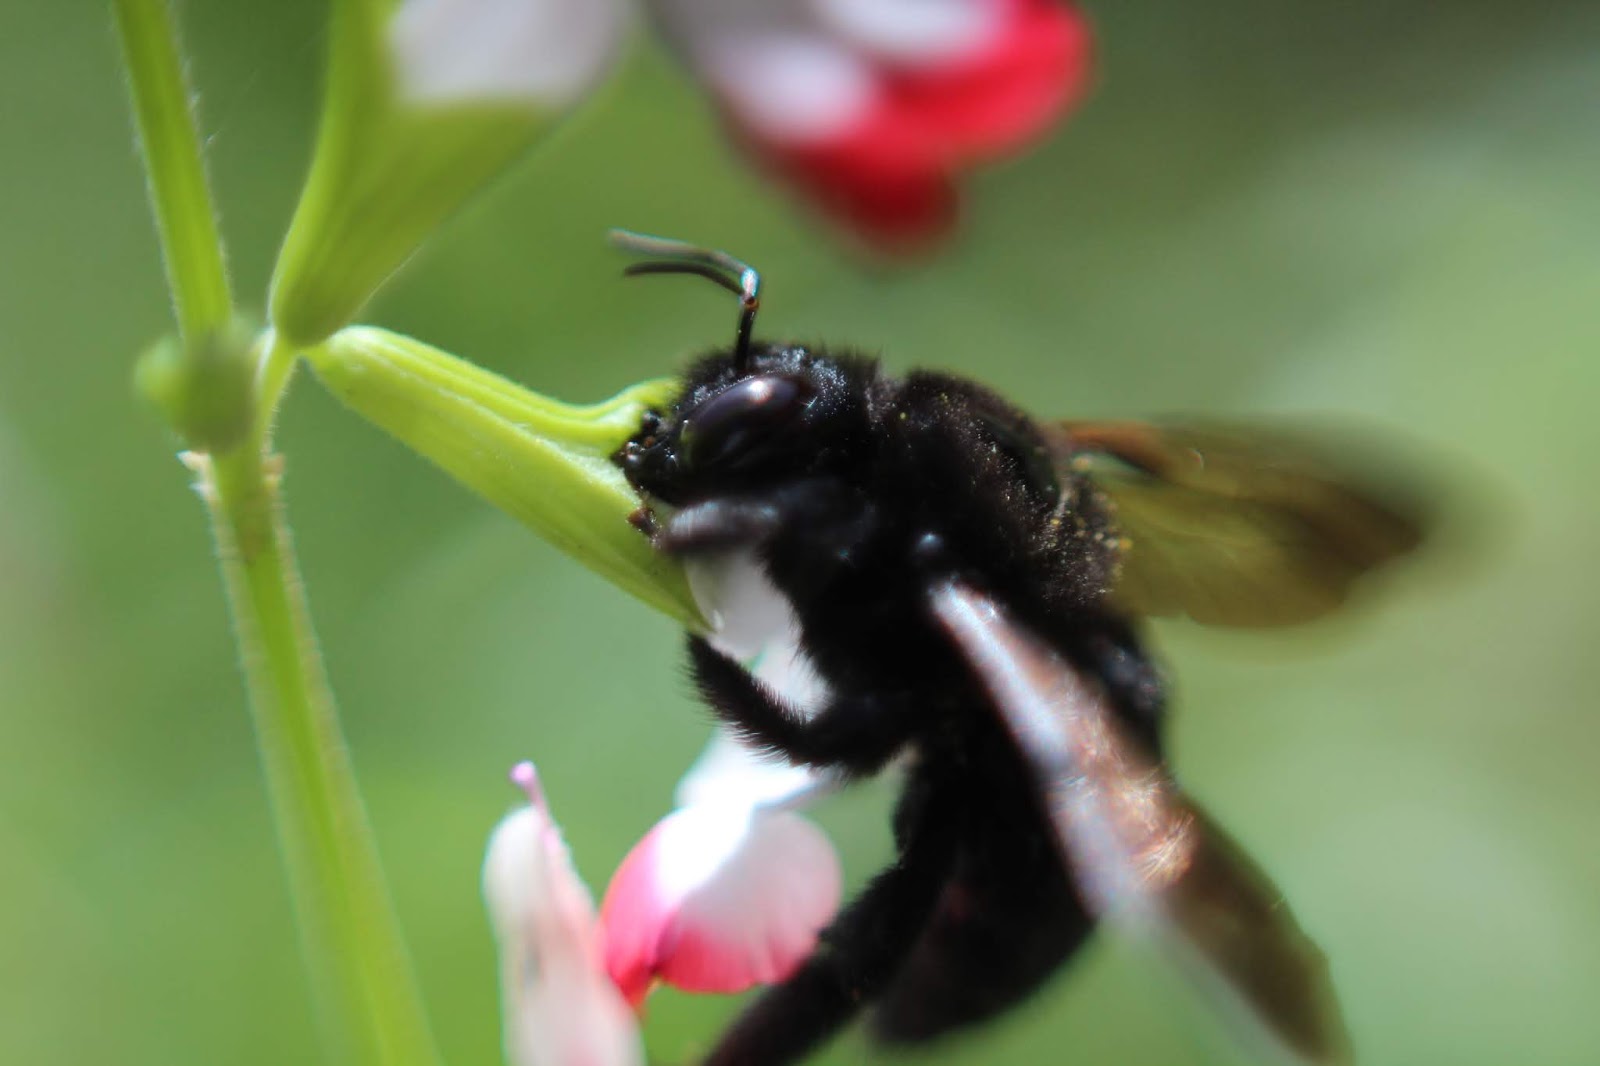
For the Hyper Realism assignment, we were supposed to combine multiple images, in photoshop, to create a final image that feels like it could be real life but is in fact impossible. We were then asked to draw a sketch of our idea, I quickly thought of a close up of a flower and having a person sunbathing inside. To then getting awesome knowledge from my professor of a flipping the lens technique to get awesome close up images. This idea inspired me to get more creative and try to get a detailed close up of an insect and photoshop someone riding it. Bees have been very abundant because of spring so they were my best bet. I had so much fun capturing close ups of bees and flowers, I took way more than I needed.


Portrait
The first problems I encountered was lighting issues and working with our limited backyard space. Holly refused to wander any farther than our drive way, afraid of strangers eyes and lighting was not ideal at this time there. To try and fix the lighting problem, I created a reflector out of tin foil which somewhat worked but was very difficult to try and position right while also taking a photo. I had to mess with my camera settings more than usual to try and capture the best image. Not having the best lighting wasn't the worst thing in the end because I was able to add lots of highlights and lowlights, in photoshop, to try and make the lighting seem more interesting. I probably had a little too much fun creating contrast by deepening colors and popping highlights. I did this using the dodge and burn tool. In the original image you can see the ugly fence line of our yard, which I then covered with leaves and flowers, using the stamp tool.


HDR
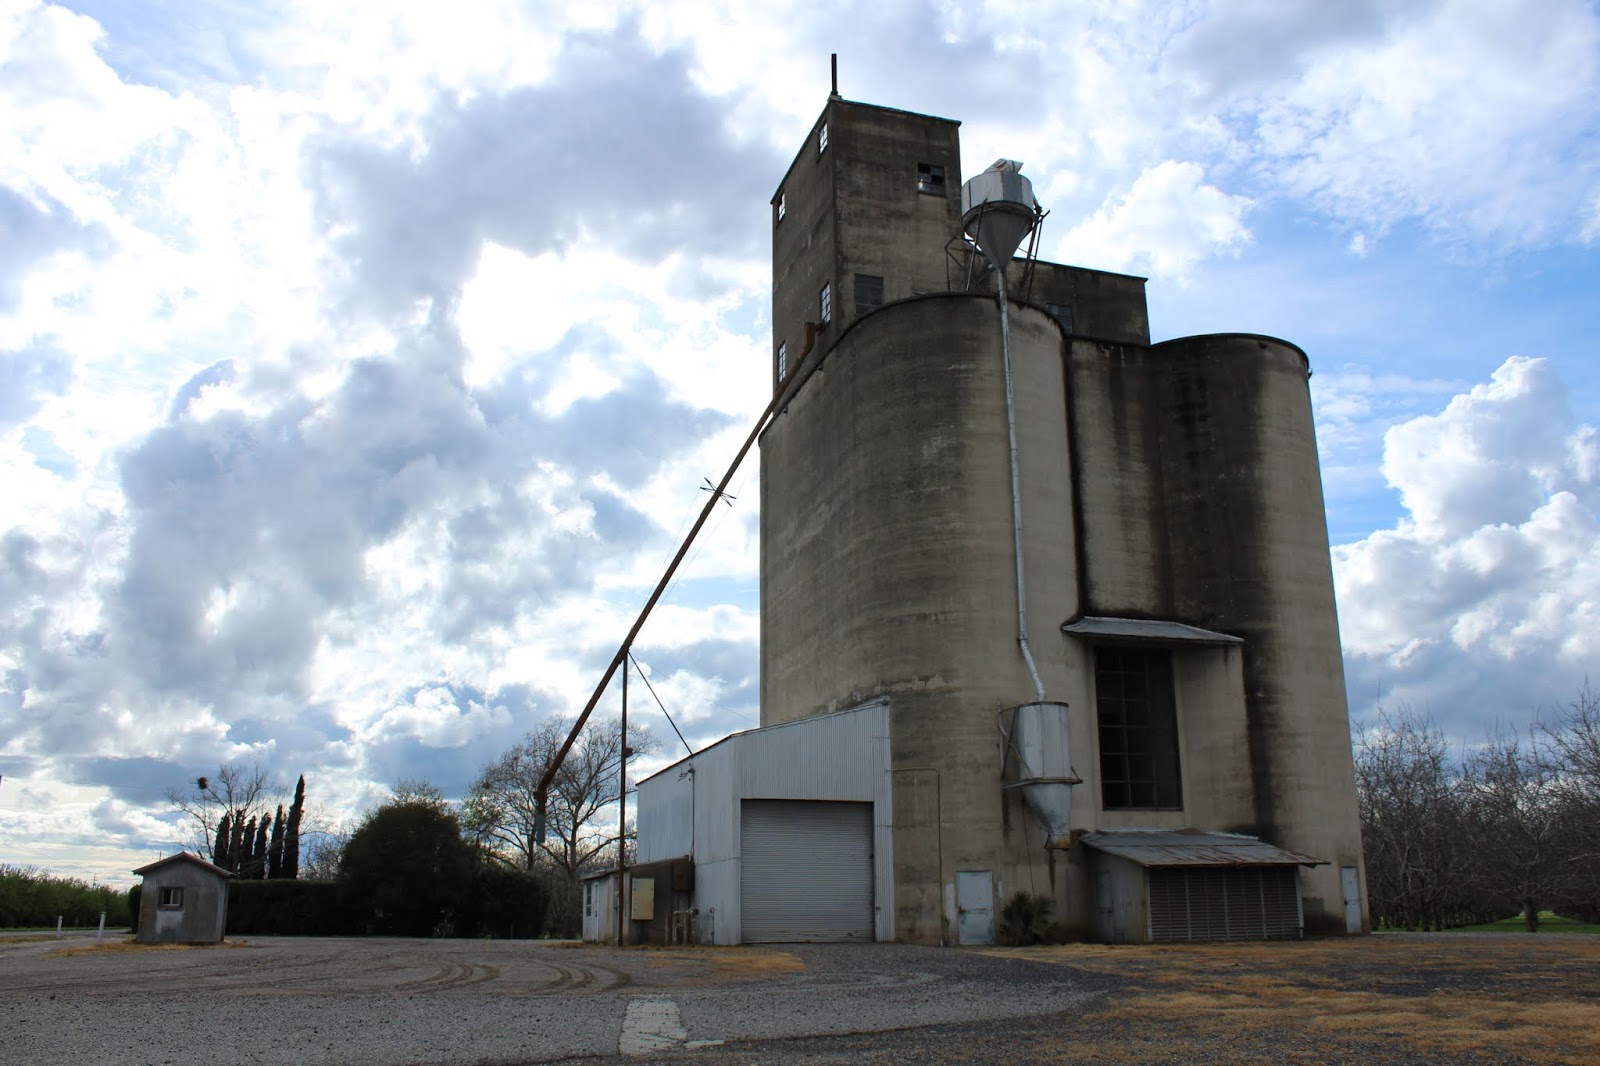
I think the HDR assignment has to be one of my favorite. For this assignment we had to take a series of three pictures, one over exposed, one under exposed and one right in the middle of the two. The point of this is then to combine the three on photos on photoshop, which creates a photo with a wide range of values. With this HDR technique, I was able to pull out details that would have never been noticeable normally. In the final image you are able to see details in the windows, high definition texture in the cement walls and the deep blue colored sky. I chose this scene for my final because the mysterious and interesting feeling this abandoned Silo produces, which I made the vocal point of the scene. The road and the bright yellow grass seem to help draw the eye to the vocal point or keep it from drifting out. The pipe that starts at the bottom seems to point to the windows at the top of the building, creating a nice flow of movement. The angle and the positioning also helps to draw the eye to the Silo.
 |
| Over exposed |
 |
| Under exposed |
 |
| Normal |
 |
| Final- all 3 pictures combine |
Assignment:Panorama
Location: Frisbee golf course 32
The objective of this assignment was to take multiple pictures and stitch them together in photoshop to create a panoramic image.
The first place I thought would put out the best panoramic views was the frisbee golf course up highway 32. Up there, you get views of the valley and the canyon of Upper Bidwell Park. I went right after it rained so there was beautiful clouds scattered in the sky. I borrowed my friends camera and tripod to take these pictures but because of this I did not fully know how to mess with her camera. This caused a lot of my photos to be over exposed and not as cool as they could’ve been.
This overexposure mostly shows in the sky in my original panoramic image but I used the stamp tool to place some blue sky and clouds to cover it up. I also used the dodge and burn technique to make the detail in the sky pop more. I now cannot wait to go back out with my friends camera because now I know why my images were so exposed.
I also had the issue, when stitching my images together, that a couple of them were totally different exposures and left harsh lines down my image. To fix this I went in with the eraser tool and and the blur tool. It took a while to try and hide and still think it needs more work but looks a lot better from the original.


Assignment: Things
Location: Moms tomato bush
The goal of this assignment was to get a close up shot of an object from one to two feet away. I wanted to push this and get as close as possible, so I chose a little friend from the garden to be my subject. This grasshopper chose my moms tomato bushes as his home. I’d always see him there when I went to pick a tomato. He had so much detail that I wanted to get a close up shot of him.
I wanted this image to feel vibrant, and almost fun, because it always made me smile to see him in his same spot each time. To make it seem more vibrant I messed with the contrast do try and take away that dullness. The vine that he is sitting on helps move your eye though the photo but also leads it to the focal point, being the grasshopper. I tried to make very little detail and color truly pop in the grasshopper to help your eye attract to him. The orange spots in the background help create depth in the image but is a little distracting. I would like to go back and make the orange not so bright. I think the grasshopper itself is detailed enough to hold the viewers eye.


Assignment: On The Edge
Location: San Franciso Park
The goal of this assignment was mainly to have a subject be “on the edge” of your picture and apply the skills we learned the previous weeks. One of those skills being covering your picture to black and white and then using the dodge and burn technique to mess with contrast.
I took this photo on a more gloomy day in San Francisco Park. I was drawn to the beautiful colored flowers, as you can see in the unedited version of this image but the grey sky and the even darker grey windmill kinda give off mixed emotion. I picked this image because I thought black and white would match my intended composition more. I wanted the windmill to be the attraction not the flowers and the gloomy feel to show more. To me this image is supposed to be in black and white, now it's weird to look at the unedited one.
I wanted the focal point to be the windmill because I thought it was the most interesting thing I’d seen in San Fran that day. I loved the historical background and all the woodwork detail. I was able to bring all that detail out in with the dodge and burn technique, where you can barely see any in the colored image.
Perspective was another tool we learned and I used in this assignment. I used the dirt path as well as the white flowers to draw your eye to the main subject of the piece being the windmill. I also kinda used the faming technique by placing the bushes on both sides of the picture to try and keep your eye from wandering off.
A problem I had when originally taking the photo was the bright grey sky. I did not like how it looked compared to the beautiful scenery and thought it ruined the vibe. But by turning it to black and white I feel it goes a lot better cause you cant tell how dull the sky looked. I also took this picture from my phone so I could mess with the exposure.


Comments
Post a Comment